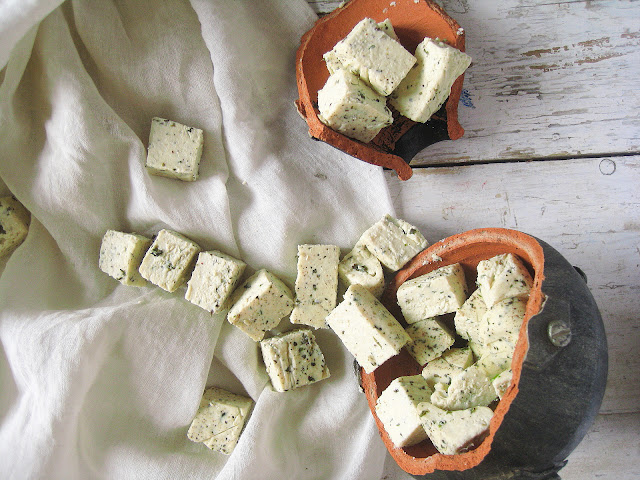
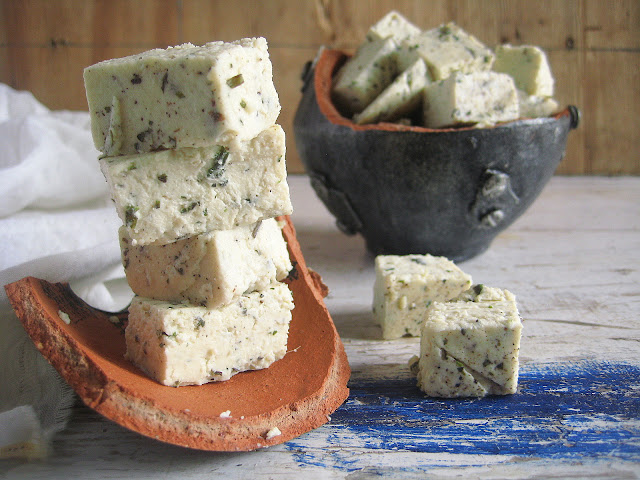
Homemade Paneer Recipe / Homemade Indian Cheese Recipe
Paneer is very nutritious ingredient that I like to
include in my everyday cooking. I just grate or crumble the paneer and sprinkle on
top of the completed dish and give it
a gentle mix. The amazing dish is ready with all the calcium and nutrition.
a gentle mix. The amazing dish is ready with all the calcium and nutrition.
As you all might be aware by now that I do not go for processed foods. So, I
prepare paneer ( Indian cheese ) at home. There are two reasons for preparing
this at home. The first thing is that it is hygiene. The second being the
flavor of the paneer. I prepare flavored or herbed Indian cheese which is very
soft and is perfect for my family. Moreover, its economical too.
I take an extra ½ liter of milk for my everyday usage. And I
am left with excess milk. So every other day, I prepare some or the other kind
of milk dishes. It could be either condensed milk, paneer, sweet kova,
unsweetened khoya, rasgulla, kalakand , palkova , etc. I always have a batch of these sweets in my house ready. I never know when there would be a craving for a dessert. So, I generally stock up on them. These dishes also come in very handy for short breaks for
kids in the family or when there are unexpected guests in our house.
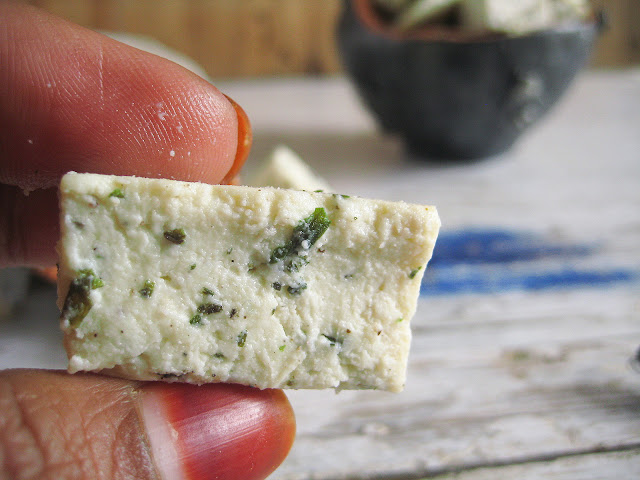
Today, I have prepared flavored Indian cheese. This homemade paneer
is very soft and full of herbs. Paneer can be made using lemon juice, vinegar
or curd ( yogurt ). I prepare Paneer with curd
at my home. I do not like the flavor of lemon or acid in my paneer. It is a pain
of washing the paneer under the running water to get rid of the lemony smell.
Hence, I like to use curd for preparing homemade Indian cheese. Its always
advisable to use full fat milk to get rich and tasty paneer. Dishes that are prepared with homemade paneer in this site are paneer burji, paneer kheer, mixed veg curry and paneer capsicum curry. There are many more to be added to this list. So please be updated about the same.
Preparation
Take milk in a vessel and put it on low to medium flame.
Allow it to come to a boil. When it is ready to boil, stir it gently.
Add black pepper powder,
dried mint leaves powder and dried basil leaves powder one after another. Mix it well. You can add any herbs as per your preference. Or if you do not like herbs, you can just skip this step.
Now add curd little by little.
Allow it cook for 3-4 minutes. Let the milk curdle completely and cook until the whey is separated.
Whey is the whitish green colour liquid. If the milk is not curdling, add little more curd and keep stirring gently. When the milk is completely curdled, switch off the flame and allow it to cool down. When it becomes cold, strain the paneer through a muslin cloth or a soft cotton cloth.
Squeeze the excess whey. Even though we squeeze the paneer, there is some moisture ( water ) left in the paneer. To get a firm panner, we need to get rid of the excess water content from the strained paneer. Take a big plate, put a vessel inverted in the plate as shown in the picture.
Now put the paneer which is still in the muslin cloth on the inverted vessel as shown in the picture.
Now we need to a heavy weight on the paneer such that the excess water is completely drained out. I have taken a pressure cooker which has full of cooked rice in it.
Cut them into cubes or desired shapes and use them as per any recipe. If you want soft paneer, strain the paneer-whey mixture when it is warm. We can also hang the panner in the muslin cloth to a tap in the kitchen sink. Leave it hung, for almost 7-8 hours to get a firm paneer. But this way, we will get a big ball of round paneer as shown in the picture. Either way, the taste and texture of the paneer is the same. Its just the shape that differs.
Ingredients
Milk 1 ½ l
Curd 8-10
tbsp
Black
pepper powder ½ tsp ( optional )
Dry mint
leaves powder ½ tsp ( optional )
Dry basil
leaves powder ½ tsp ( optional )
Method
- Boil milk on a low to medium flame.
- When milk is boiling, gently stir with a ladle.
- Add black pepper powder, dry mint leaves powder, dry basil leaves powder and mix well.
- Add curd little by little and stir slowly.
- Cook until the milk is completely curdled and the whey ( whitish green liquid ) is formed.
- Switch off the flame and allow to cool.
- Strain the paneer-whey mixture through a muslin cloth or a cotton cloth.
- Hang the muslin cloth ( in which paneer is there ) to a tap in the kitchen sink. Leave it hung for 7-8 hours to get a firm paneer. The result is a big ball of round paneer.
- Else, place the muslin cloth in which paneer is tied on an inverted vessel. Place a heavy weight on the paneer to get rid of the excess water from the paneer. Leave it as such for 5-6 hours.
- Cut the paneer into desired shapes and use as per the recipe for any curry.
Notes
- The homemade paneer stays good for a week if refrigerated.
- If you do not like the herbed or flavored paneer, you can skip the herbs and spices.
- You can add any herbs or spices as per your liking and tastes.
- Do not throw the whey. You can refrigerate this and can use it for preparing chapathi dough, preparation of gravy curries, etc,.
- Whey is very nutirtious as well.


No comments:
Post a Comment