Showing posts with label Peas. Show all posts

Gobi Methi Malai / Matar Methi Malai / Gobi masala Side dish

0

Methi Gobi Malai / Matar Methi Malai / Methi Matar Malai / Restaurant Style Side Dish 


Gobi Methi Malai is prepared on the similar ways of Methi paneer Malai. Methi Malai is the base for both these curries. This is the season of fresh methi leaves and big big fresh cauliflowers. So I wanted to make best use out of them. I purchased these methi leaves in bulk ( almost 8 bunches ) and prepared kasuri methi with 6 of those bunches. I have used 1 bunch for the preparation of this curry. There are more recipes to come using the methi leaves. So watch this space for more.

methi gobi malai

The gravy is made with shallots ( sambar onions or small onions ) to make the gravy more tasty. You can use normal onions but the shallots are more sweeter and softer which combines very well with the milk cream ( malai ). Instead of direct cream I am using milk which is boiled to thicken it and then used in the gravy. The shallots when cooked in the milk gives a creamy and silky texture to the gravy. This gravy is similar to the that of the restaurant gravies. So you get the feel of restaurant food at your home. And your kids will love it.

methi matar malai

The bitterness from the methi leaves is all absorbed by the creamy milky gravy resulting in a rich, smooth and silky curry which gives you the feel of restaurant eating.

Preparation


Take milk in a pan or vessel and put it on flame. Add cinnamon stick, cloves, cardamom, shallots, green chillies and ginger garlic paste.


Cook this until the shallots become soft and tender. Switch off the flame and let it cool. Take another pan and add oil in it. Temper it with cumin seeds.


When they splutter, add methi ( fenugreek ) leaves and turmeric powder.


Mix well and sauté until they wither. 
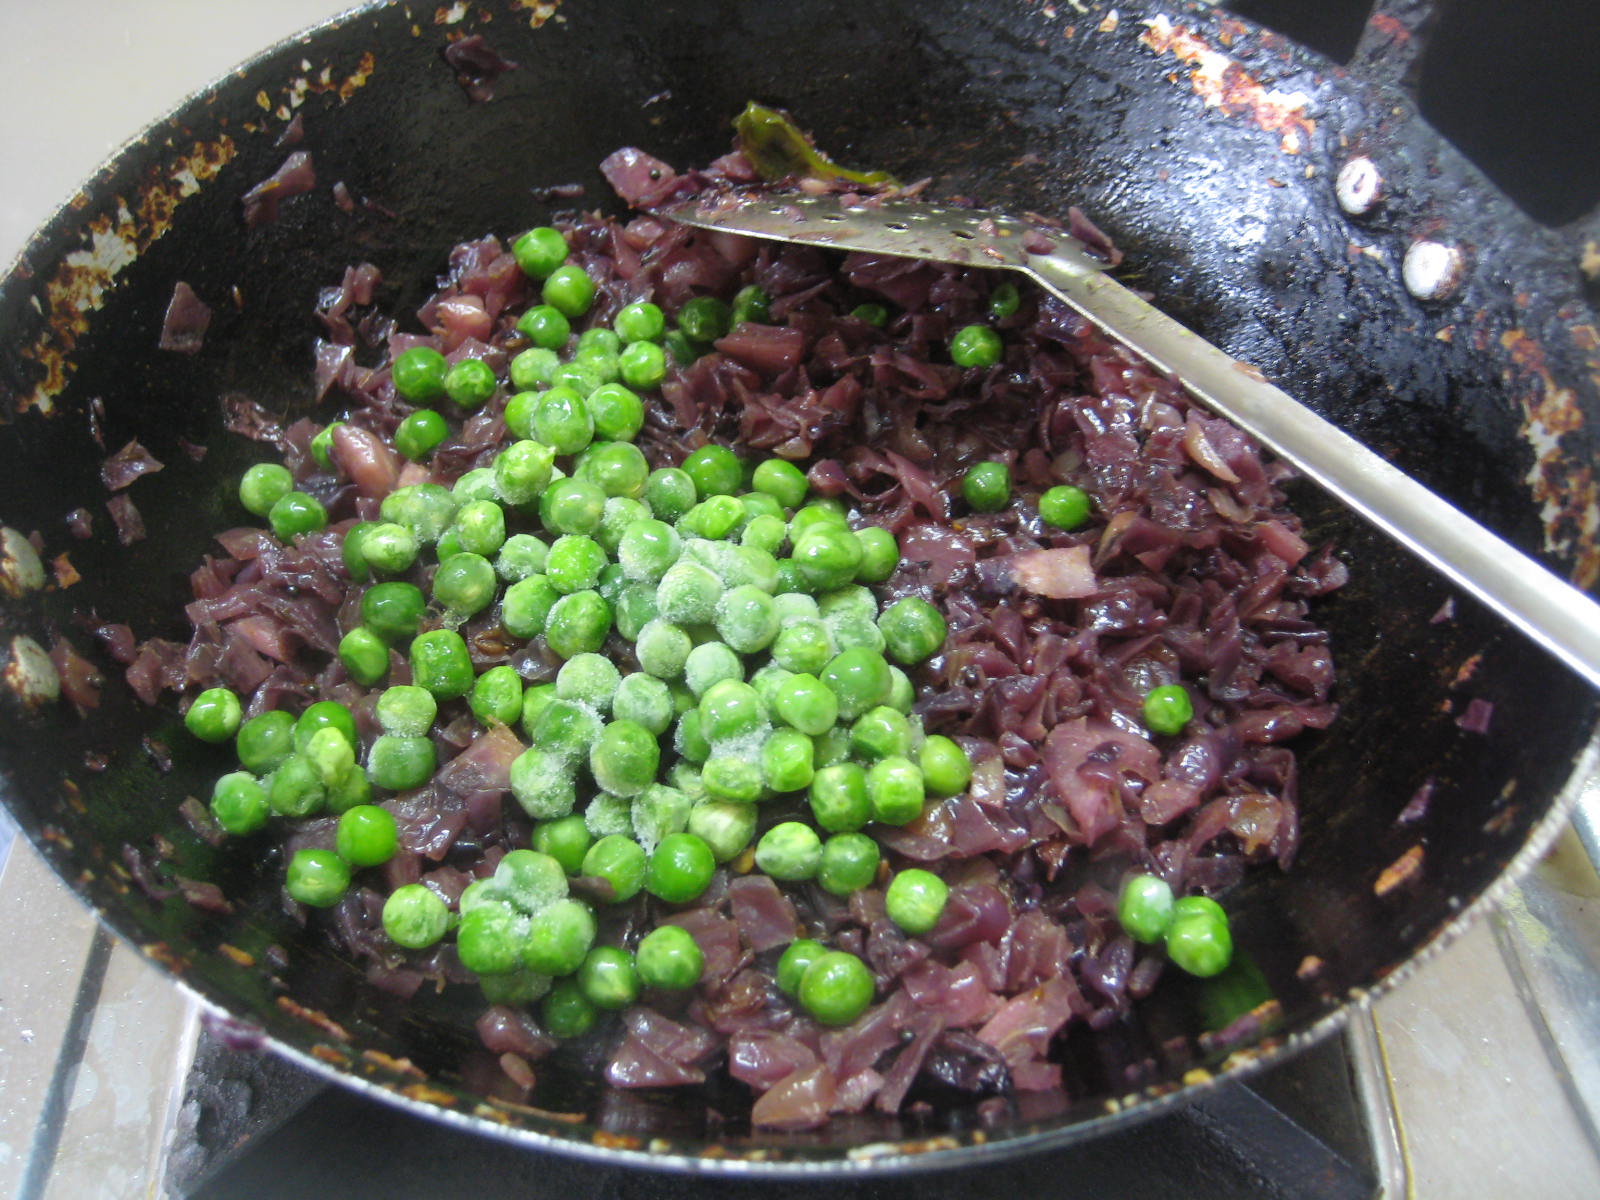
Now add cauliflower florets and green peas.


Add salt and cook covered until the cauliflower is cooked. Stir in between so that the curry do not stick at the bottom of the pan. 


In the meantime, blend the shallots along with other spices and milk in a blender to a smooth paste. Keep aside.


Add this to the cooked cauliflower and green peas.


Mix well and add tomato sauce.


Sprinkle chilli powder and garam masala powder.


Adjust the consisitency by adding water or milk. If you want a rich gravy, add milk else you can add water. Check for seasoning and remove from flame. Serve hot as a side dish for chapathi, roti or naan. This side dish serves as an accompaniment with any mildly spiced pulavs like Carrot Fried RiceCoriander Coconut Pulao, Mango rice. 

creamy cauliflower restaurant style

Ingredients


Milk  2 cups

Shallots  2 cups

Cinnnamon stick  1" piece

Cloves  3

Cardamom  3

Ginger Garlic paste 1 1/2 tsp

Green chillies  2

Oil  2tbsp

Cumin seeds  2 tsp

Methis leaves  2 cups ( loosely packed )

Turmeric powder  1 tsp

Cauliflower florets  2 cups

Green peas  1 cup

Salt  to taste

Tomato sauce  1 tsp

Chilli powder  1 tsp

Garam masala powder  1 tsp

Method


  1. Cook shallots, ginger garlic paste, green chillies, cardamom, cinnamon stick and cloves in milk until the shallots are cooked. Allow to cool. 
  2. Heat oil in another pan and temper with cumin seeds. 
  3. Add the methi leaves ( fenugreek leaves ) and sauté until the leaves wither. 
  4. Now add the chopped cauliflower florets and green peas. 
  5. Add salt and cook covered until the cauliflower is cooked. Stir in between. 
  6. Make a smooth paste out of the cooked shallots along with other spices. 
  7. Add this paste to the cooked cauliflower and mmix well. 
  8. Add tomato sauce, chilli powder and garam masala powder. 
  9. Adjust the consistency by adding more milk or water depending on the richness of the curry you prefer.
  10. Check for seasoning and serve as a side dish for chapathi, roti, naan or any flavored rice.

Notes


  • You can add cashews or melon seeds in the milk to make it more rich, ( just around 2 tbsp. ).
  • If you do not have shallots, you can prepare this this methi malai with normal onions. 
  • To get a white gravy just like the restaurant ones, skip adding the turmeric powder. I was health conscious, so I tend to add turmeric in almost all my preparations. But if you are presentation conscious, just skip adding the turmeric powder. 
  • Do not cook the curry for long after adding the paste as it will soften the cauliflower too much and it will tend to become  a paste. Of course, this is a good way to get your toddlers eat the curry.
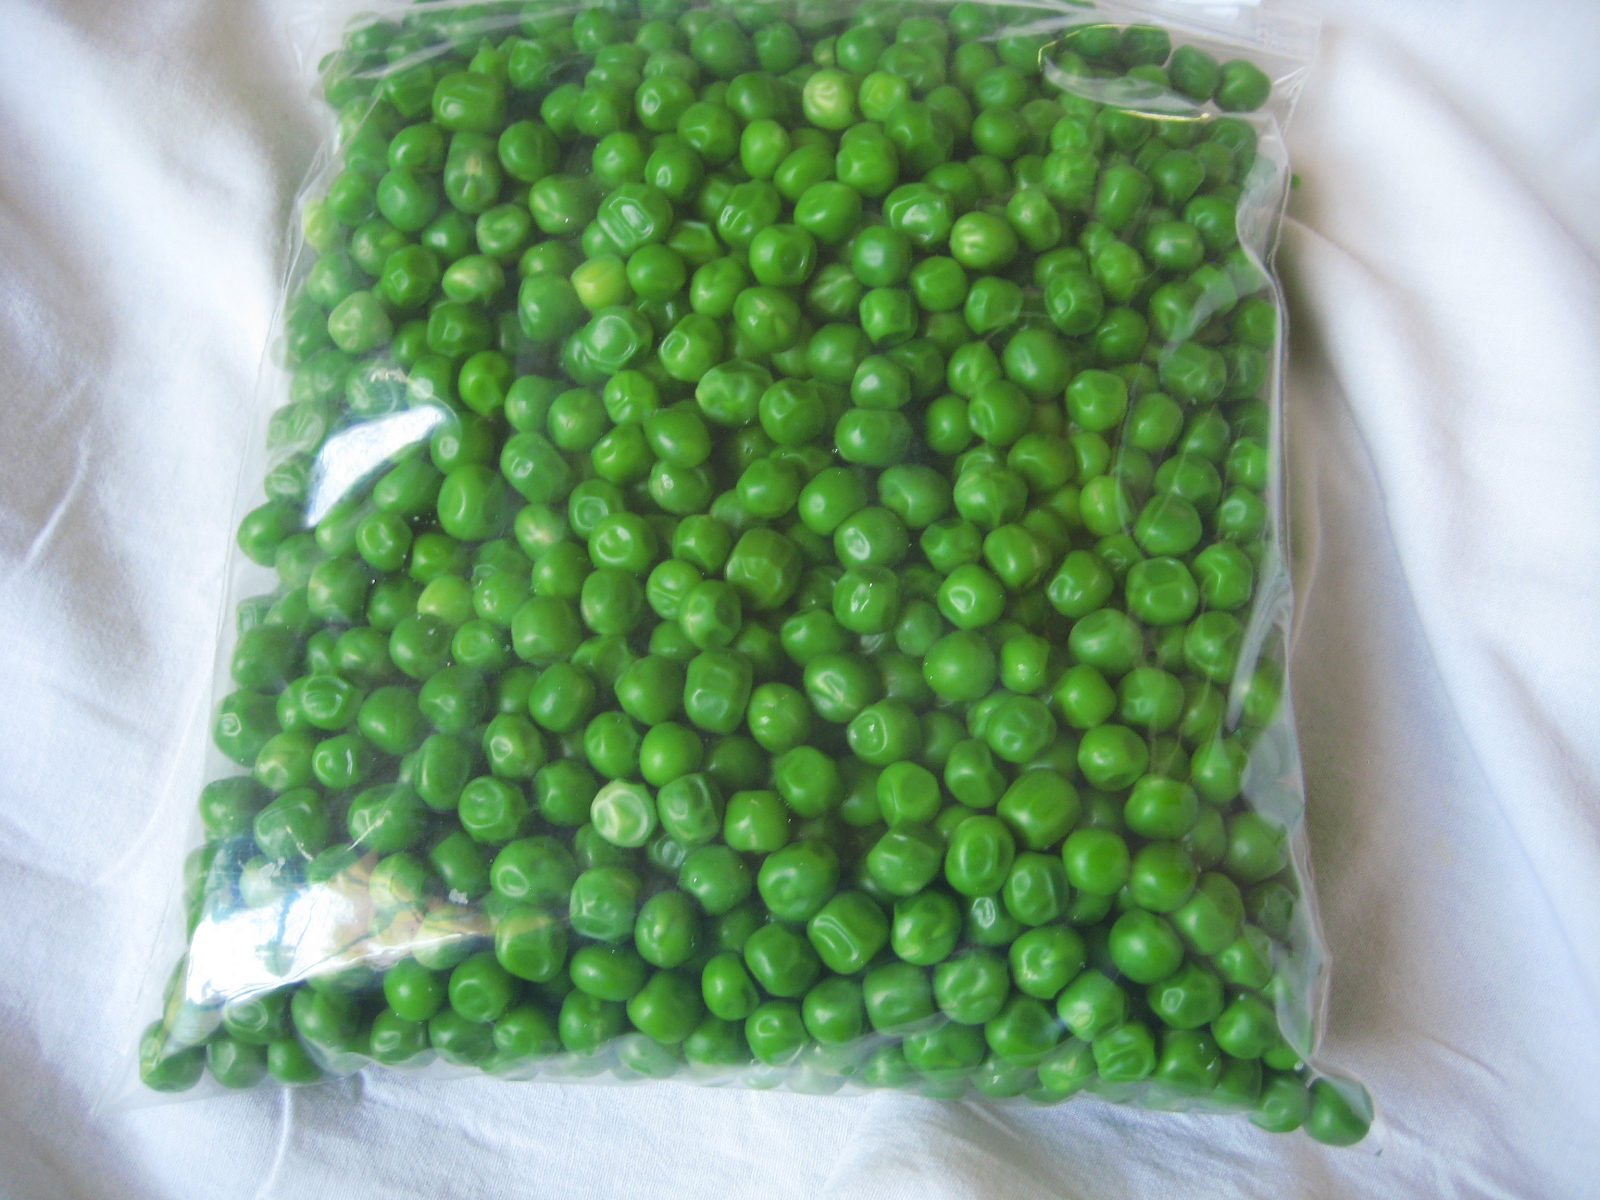
  • You can also use frozen green peas for the preparation of this gobi methi malai. Add it after you add the shallots paste.


Continue ...

Tasty Cabbage Recipes indian / Indian Vegetarian cabbage recipes / sauteed cabbage recipes /

0

Purple Cabbage Stir Fry / Cabbage Curry Recipe Indian Style / How to Cook Cabbage Healthy


Purple cabbage fry is similar to that of the normal cabbage fry except the colour. The procedure of preparing this curry is also more or less same as the other fries like ivy gourd fry, ladies finger fry, cauliflower green peas fry, broad beans fry, simple radish fry, spring onion fry, karela fry, baby potatoes fry, etc. .

purple cabbage stir fry recipe

The nutrients in this purple coloured cabbage is way more than that of the ordinary one. As a matter of fact, the coloured veggies like carrots, bell peppers etc. are more necessary for our health. Health experts also advice us to take more coloured and colourful food which pleases our eyes
👀 and body. So, I do not miss any chance to grab these colourful cuties whenever I see them.

tasty cabbage recipes indian

If you check my broccoli stir fry recipe, I included sweet corn and capsicum. My idea was to make it colourful and tasty
😋. I could have included paneer, red bell pepper for the extra colour, but alas, I did not have any of them on me. I will work on this and let you know the outcome.
For today, its the simple cabbage fry which becomes more appealing with the addition of green peas. I have used the frozen green peas but you can also use the dried peas or fresh peas when available in the market. If you are using the dried peas, then soak them overnight and cook them in the pressure cooker the next morning. Now they are ready to be used in the preparation of this curry. 


how to cook cabbage healthy


Preparation


Heat oil in a pan and add mustard and cumin seeds.


When they splutter, put the chopped onions and slit green chillies in.


Sauté for a minute and add turmeric powder.


Give a stir and add the shredded cabbage. Sprinkle salt and sugar and mix well.


Cover with a lid and cook on low to medium flame. Keep stirring occasionally to avoid burning at the bottom of the pan. When the cabbage becomes soft and tender, remove the lid off and add the frozen green peas.


Mix well and do the seasoning with chilli powder, Garam masala powder, coriander powder and flax seed powder.


Mix well and fry for another 2 minutes. Switch off the flame and serve with either rice 🍚 or roti.

cabbage recipes indian

Ingredients


Purple Cabbage  1/2 of a medium sized cabbage
Oil  1 1/2 tbsp
Mustard seeds  1/2 tsp
Cumin seeds  1 tsp
Onion  1
Turmeric  1/2 tsp
Green peas ( frozen ) fistful
Salt  to taste
Sugar  1/2 tsp
Chilli powder  1/2 tsp
Garam masala powder  1/2 tsp
Coriander powder  2 tsp

Flax seed powder 1 tsp


Method

  1. Shred or chop the cabbage finely and keep aside.
  2. Heat oil in a pan and temper it with cumin and mustard seeds.
  3. When they crackle, add the chopped onions and green chillies. 
  4. Saute for a minute and throw in the turmeric powder. 
  5. Add the shredded purple cabbage along with sugar and salt. Mix well and cover with a lid. 
  6. Keep stirring in between to avoid sticking at the bottom of the pan. 
  7. When the cabbage becomes soft and tender, add the frozen green peas and cook for another 5 minutes. 
  8. Sprinkle all the spices namely, chilli powder, garam masala powder, coriander powder and flax seed powder. 
  9. Check for salt and switch off the flame. Serve hot with either rice or roti. This curry can also be used as a stuffing for katti roll or parantha. 

Notes


  • During tempering, you are free to add any ingredients like red chillies, channa dal, curry leaves etc. which give additional aroma to the dish. 
  • You can also include cumin powder in the spices list. 
  •  If you are adding fresh green peas, then add them along with the shredded cabbage and cook covered. 
  • If you want to use the dried green peas, then soak them overnight, pressure cook them the next morning and then use in the curry as mentioned above. 
  • To make it masaledaar, you can add ginger garlic paste as well.
  • You can also add any other veggies like carrots, potatoes, beans and paneer as well. 


Continue ...

Freezing Green Peas / Best Frozen Peas / How to Freeze Green Peas At Home / Homemade Frozen Green Peas

0

Freezing Green Peas / Best Frozen Peas / How to Freeze Green Peas At Home / Homemade Frozen Green Peas


how to freeze green peas at home

Hey friends, I was so busy the whole of last month since Christmas. The visit of my in laws, the festive season of Pongal and my man's birthday 🎂 kept me away from updating this blog. But I am back with more energy, enthusiasm and of course interesting recipes.
Today's recipe is very useful to make our lives easy and hassle free. This is the recipe to prepare homemade frozen green peas. Everybody loves green peas but we all know that they are seasonal. Using this method we can store green peas for almost a year and enjoy this seasonal veggie for the whole of the year. Though frozen peas are easily available in the market, I prefer to make them at home for three main reasons. Firstly, I have the option to choose the best green peas and remove any rotten ones. Secondly, they are more economical when compared to the store bought ones. Lastly, they are more hygienic when prepared at home.


homemade frozen green peas

To get perfect frozen peas, you need to select the fresh ones which are neither under ripe nor over ripe. The under ripe peas are the ones which are small in size and are very tender. The over ripe peas are fuller and are lighter in colour when compared with the just ripe green peas. The over ripe peas are bitter in taste while the just ripe peas are sweet in taste and soft on cooking. Here in this recipe, we are going to blanch the green peas and freeze them for a long time. Blanching is very important to freeze the peas, else they will ripe even in cold temperatures. Blanching the peas will stop them from ripening and retaining their sweet taste for a long time to come. 

storing green peas for a year

I had this recipe in my drafts folder since last year, but unfortunately I could not get fresh green peas. So this year, I made it a point to get to the local market which is called Santha that is held every Sunday near my place. I indeed was lucky 🍀 enough to lay my hands on the best green peas that were fresh from the farm. Now straight to the recipe.

Preparation


Separate the green peas from their pods. This task might eat your time, but its worth the effort. You can do this while watching any of your favourite TV 📺 show to save your time. Wash the peas and keep them aside. Put a container of water on full flame and bring it to a boil.


Add the washed peas when the water is boiling. Continue to cook on high flame until the water starts to boil again.


When the water starts to boil again, set the timer to 1 1/2 minutes ( 90 seconds ). Once the timer stops switch off the flame immediately. 


By this time, all the peas would be floating on the water.


Now quickly strain the water from the peas using a colander and put it under running cold water until the peas come to room temperature. 


You can also pour some ice cubes or ice cold water in the green peas to stop the cooking process. Once they are cooled, dry them on a clean kitchen cloth or a cotton cloth ...


......until there is no moisture left on the peas.


Now, you can pack them in zipper bags or freezer safe containers and store them in your freezer shelf.


Use them when necessary. Just thaw them before using or keep the required amount of peas at room temperature for half an hour before using in your preparation. I follow the second method. 

how to store green peas for long time

Ingredients


Green peas 1 kg
Water  1 1/2 litres


Method

  1. Discard the pods from the seeds and wash the peas and keep aside.
  2. Bring a big bowl of water to a boil on a high flame.
  3. Add the peas when the water is boiling and cook on a high flame until it starts boiling again.
  4. Set the timer to 1 1/2 minutes and switch it on the moment the water starts boiling again.
  5. Switch off the flame as soon as the timer is stopped and drain the water using a colander.
  6. Add some ice cold water or ice cubes or put it under cold running water to stop the cooking process.
  7. When the peas are cooled, dry them on a clean kitchen cloth until there is no moisture left on them.
  8. Transfer these dried blanched peas to zipper bags or freezer safe containers and freeze them until use.
  9. These frozen peas stay good for months to come.

Notes


  • Make sure that you are using a wide and big bowl for blanching the peas. There should be enough space for the peas to cook else they will not get cooked properly.
  • The process of cooking should be stopped as soon as possible after the timer has ran out, otherwise the peas cook further because of the warmth and will become mushy for later use.
  • You can also label these packs of frozen peas with their respective dates of preparation for future reference.
  • Do not cook for more than the given time i.e. 1 1/2 minutes ( 90 seconds ).
  • Whenever you want to use them, just keep the required quantity of frozen peas at room temperature for half an hour and then your peas are ready to be used in any recipe.
  • You need not cook these frozen peas for a long time in any recipe. Just add them at the end of the recipe i.e. just 5-10 minutes before switching off the flame and you will be done. 


Continue ...