Showing posts with label homemade. Show all posts

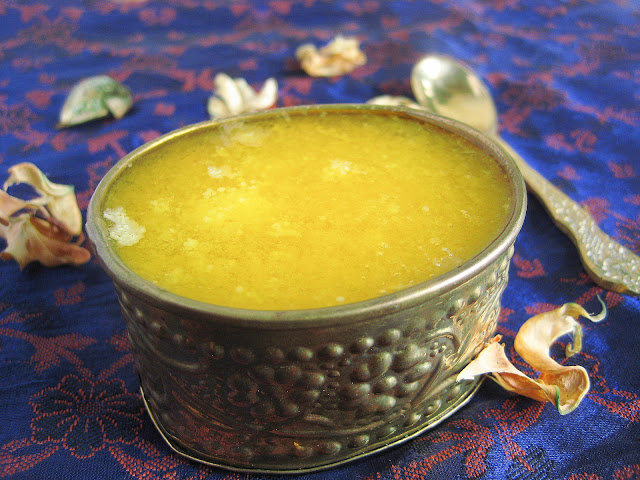
homemade ghee/desi ghee at home

1


Making ghee at home / Making ghee from butter


Coming ahead is the festive season of Dussehra and the preparations are going on at a fast pace in my house. The first thing that comes to mind about the festivals is the dishes that are to be prepared for the holiday season. And the most important ingredient that is required for any festive dishes or Naivedhyam recipes is authentic ghee.

ghee making at home

I love to prepare ghee at home which is fresh and so pure. Preparing homemade ghee is so easy and nice. You can prepare it with either store bought butter or homemade butter. I prepare ghee from scratch at my home.

make ghee from unsalted butter

I use ghee extensively. So I always tend to prepare ghee at home and store it for future use. I prepare ghee almost 2-3 times a month. And whenever I have excess of ghee with me, I give it to my mom-in-law and sis-in-law. They just love it. And the funny thing is that, when my mom has excess of homemade ghee, she gives it to me. So, I always have ghee in my pantry.

authentic desi ghee

The texture and the taste of store bought ghee varies from that of the homemade ghee. Moreover, I found that all the processed foods that are available in the market are adulterated with some or the other ingredients that are unhealthy for us. The texture of the homemade ghee is grainy and has a heavenly taste. I use ghee whenever required, for pulav, upma, sweets, in dals, and almost any dish. I even use ghee for the preparation of some curries as well. I like the flavour of any dish when it is prepared with ghee rather than oil. Hence I generally use ghee instead of oil for some dishes.

  
making ghee from milk


Preparation


Separate cream from milk and collect it in a bowl. After the first addition of cream add little curd so that the cream curdles and the cream doesn’t get spoiled. Collect the cream everyday religiously for 10 days. After 10 days or when the bowl is full, mix the cream well and keep it out overnight.


In the morning, when the cream has got curdled well, put it back in the refrigerator. Allow it to become chilled. When you are ready to prepare the butter, remove from the fridge and rest it for 5 minutes. If you start preparing immediately after removing from the fridge, then your hands will get hurt because it is very cool. So just rest for 5 minutes. But make sure that you prepare the butter when it is cool and not warm or at room temperature. Butter is formed faster when the cream is cool. Transfer the curdled cream into a bigger vessel and put your hand it the vessel.


Keep rotating your hand in a circular motion at a fast speed.


Continue rotating your hands until you feel the butter is formed. And moreover, you will not feel the stickiness on your hands.


At this stage, the butter is formed. Add water, and remove the butter into another bowl.


Collect the butter in a thick bottomed pan or vessel and put the vessel on medium flame. If you are preparing ghee from store bought butter, then you can start the procedure from here. 


Melt the butter on a low flame and keep an eye on it.


Sometimes, the butter tends to overflow the vessel, so always keep an eye on it. When it is about to overflow, gently mix the butter with a spoon until it settles down. Allow it to cook slowly. Initially you will see small bubbles on the top layer.


Gradually the bubbles will increase and ...


the white portion on the top layer disappears and becomes ghee.


Cook until the bottom layer becomes brown in colour ( not black ).


Now, immediately switch off the flame and allow it to cool completely. When the ghee comes to room temperature then transfer to a glass jar or a plastic airtight container. Flavourful homemade ghee is ready.


making of ghee from milk


Ingredients


Cream of milk of 10 days  ( OR ) Store bought butter


Method


  1. Collect the milk cream in a bowl. Add little curd to it and put it in the fridge.
  2. Keep collecting the cream in the bowl for 10 days. 
  3. When the bowl is full, mix the cream well and keep it out at room temperature overnight.
  4. In the morning, put the bowl back in the fridge and allow it to become chilled.
  5. When it is chilled, remove from the refrigerator and rest it for 5 minutes.
  6. Now out your hand in the bowl and rotate your hand in circular motion at the maximum speed possible.
  7. After 5 minutes of rotating, you will find the small balls of butter forming and you will fell less stickiness.
  8. At this stage, add water and remove the butter to another bowl. This is homemade butter.
  9. Now, put this bowl of butter on a medium flame. 
  10. Cook on a low to medium flame until the ghee is formed on the top layer and the bottom layer becomes brown in colour.  
  11. Now immediately switch off the flame and allow to cool. 
  12. When it comes to room temperature, transfer to a glass jar or plastic container and store it at room temperature for future use.


Notes


  • It is always advisable to use the cream of full fat milk to get the best ghee.  
  • If you use cream of full fat milk, then you get the butter in less than 4 minutes of rotating. 
  • You can also prepare ghee in a blender which I will be sharing in another post.
  • This homemade ghee can be stored for months to come.

Continue ...

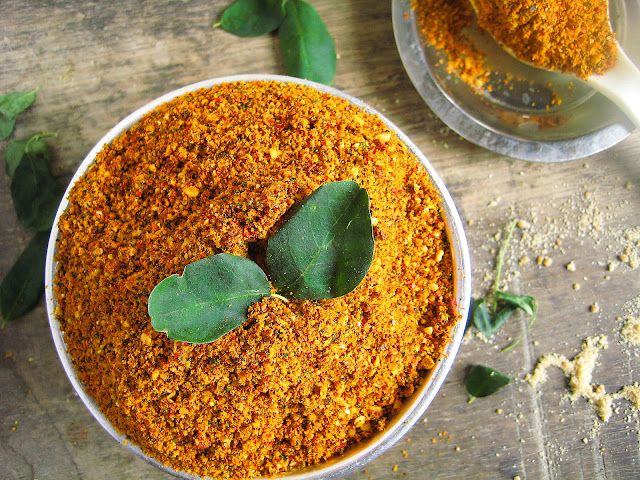
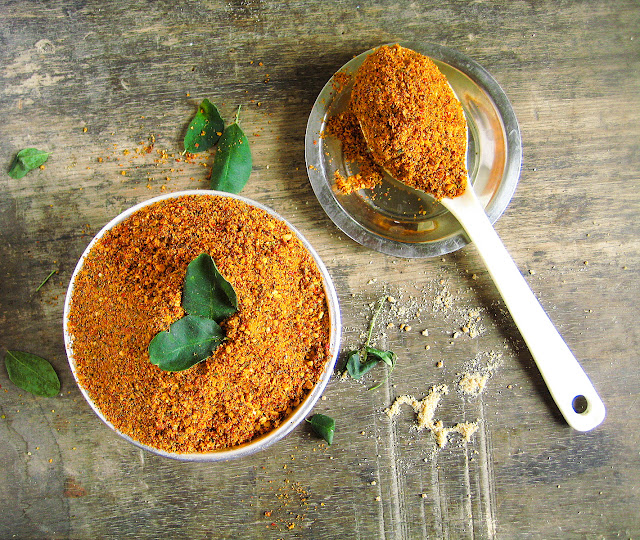
murungai keerai podi / munagaku podi / drumstick leaves chutney powder

0

Munagaku Chutney Powder / Murunagai Keerai Idli Podi


munagaku idli karam podi

Drumstick leaves also known as Munaga Aakulu or Munagakaya Aakulu in Telugu. Drumstick leaves are called murungai in Tamil. These leaves are very healthy. These munaga leaves are packed with a huge list of healthy nutrients which are very useful for our body. They are a rich source of Vitamin A, C and E. They also contain good amounts of calcium, potassium and proteins. It also has many antioxidants and antibacterial properties.

drumstick leaves idli powder recipe

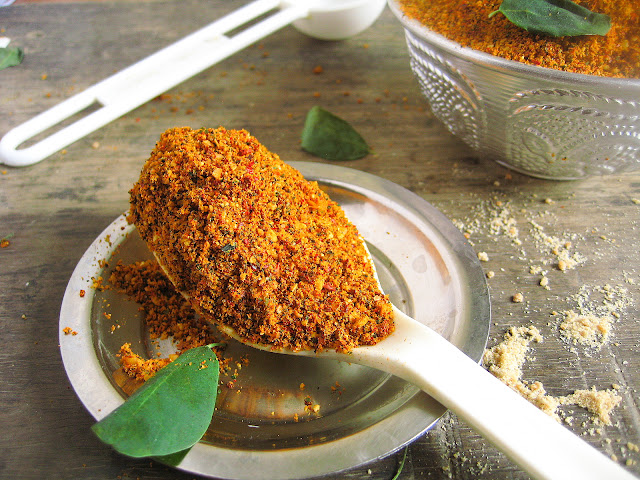
There are many dishes that can be prepared with these moringa leaves in south India. We prepare munagaku dal ( lentils ), munagaku chutney, munagaku curry with telagapindi ( dry ), munagaku powder, etc.,.  Today´s recipe is munagaku chutney powder which serves as an accompaniment for idli. This munagaku idli podi has a unique earthy texture and can also be served with hot rice as well.

murungai idli podi recipe

The other ingredients that are used in the preparation of this munagaku idli powder are also very healthy and help in enhancing the overall taste and texture of the dish. Peanuts, sesame seeds, roasted channa dal are some of the ingredients that are used in the making of this idli powder with drumstick leaves. These items are recommended for daily use to stay fit.


Preparation


Separate the drumstick leaves from the stems and discard the stems. Wash the leaves and dry them on a dry kitchen cloth. Take a pan and dry roast the peanuts. When they become light black on the skin, remove to another plate and let them cool.


In the same pan, dry roast the urad dal until turn to a golden colour. Keep stirring continuously or toss them for even roasting and to avoid burning. Transfer to the plate and keep aside.


Similarly, dry roast the sesame seeds until they change to golden colour and become crispy. You can munch on a few seeds to check if they are crispy or not.


Remove to the plate and in the same pan, dry roast the roasted channa dal. Roast them for a 1-2 minutes and remove from flame.


Transfer them to the plate and now dry roast the munaga leaves. Roast them until they are totally dried up and become crispy. They should become such crispy that you should be able to powder them in your hands. When they become such crunchy, then remove to another plate and keep aside.


Finally dry roast the red chillies until they become black in colour.


Allow all these ingredients to cool completely and then put them in the blender except the moringa leaves.


Make a coarse powder of it.


Now add the munagaku and salt and make a powder of it.


Check for seasoning - salt and spice. Add more if required and transfer to an airtight container. Serve with hot idlis or hot rice. Put the powder in the plate, make a well and put a teaspoonful of ghee and serve with hot idlis. This would taste heavenly.

murungai chutney podi


Ingredients


Peanuts  3tbsp.
Urad dal  2 tbsp.
Sesame seeds  2 tbsp.
Roasted channa dal  1 tbsp.
Drumstick leaves  1 cup
Red chillies  20
Salt  to taste


Method


  1. Discard the stems and separate the leaves. Wash the leaves with water and dry them on the kitchen cloth.
  2. Dry roast the peanuts until black on the outer skin and crunchy and tasty on the inside.
  3. Dry roast the urad dal seeds until golden. Remove to another plate and allow to cool.
  4. Similarly dry roast the sesame seeds until golden and allow to cool in a plate.
  5. Dry roast the roasted channa dal for 1-2 minutes.
  6. Put the munaga leaves in the pan and fry until the leaves are dried up and become crunchy.
  7. Similarly, dry roast the red chillies until black in colour.
  8. Allow all these spices to cool completely.
  9. Put all the ingredients in the blender except the moringa leaves. Make a coarse powder.   
  10. Now add the murungai leaves to the coarse powder and blend once again adding salt as well.
  11. Check for seasoning and add salt or spice if required.
  12. Serve with hot idlis or hot rice.


munagaku karam podi recipe


Notes


  • Use fresh and tender munaga leaves for the best taste.
  • This munagaku chutney powder can be stored at room temperature for at least 1 month.
  • Add little aamchur powder ( dried mango powder ), if you want the powder to have a sour taste. I did not add any aamchur powder because I found this tasty as it is.
  • Add enough spice, not too more nor too little. Either ways, you might not get the best taste of it.
  • You can also add 1 tbsp. of channa dal to the above roasted ingredients. 
  • 1 tsp of cumin seeds can also be added to enhance the flavour. 
Continue ...

Authentic Sambar Masala Powder Recipe

0

Sambar Masala Recipe / Sambhar Masala at Home


sambar masala at home

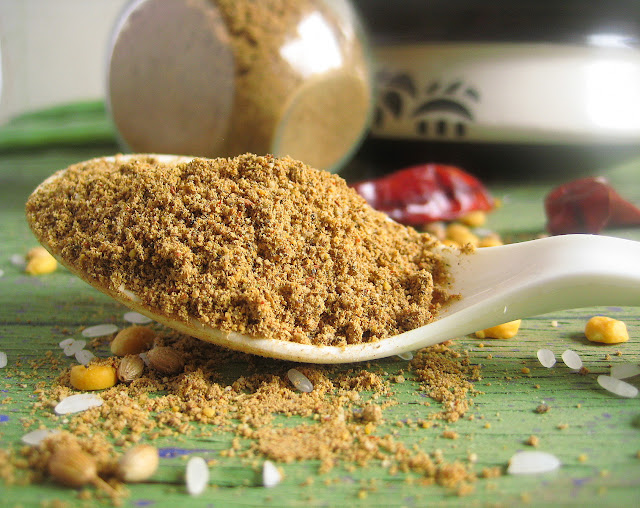
Sambar is a very popular dish in the southern part of Indian. Sambar is a kind of a stew where many veggies are cooked along with lentils in tamarind juice. Here we will temper with Indian spices to enhance the flavour of the sambar dish as a whole. There is a special sambar powder which
Continue ...

homemade condensed milk

0


Homemade Condensed Milk


homemade condensed milk without baking powder


I do not prefer processed foods. I prepare almost everything at home. Today´s recipe is yet another processed food that is easily available in the market. After the Maggi issue, I was too scared to buy any processed food from the store. So I started preparing everything at home. Condensed Milk which is easily available in the market. But
Continue ...